

Majority of the times during a penetration test or bug-bounty engagement, you might encounter customers who limit the scope of testing to non-jailbroken devices running the latest mobile OS. How do you dynamically instrument the application in those cases? How do you trace the various functionalities in the application while trying to attack the actual application logic?
Frida (https://www.frida.re/) is a runtime instrumentation toolkit for developers, reverse-engineers, and security researchers that allows you to inject your own script into the blackbox mobile application. Normally Frida is always installed and run on Jailbroken devices. That process is pretty straight-forward. However, the complexity increases when you want to run it on non-jailbroken devices. In this article I’ll explain in detail the steps to be followed to get Frida running on the latest non-jailbroken version of iOS viz iOS 12.1.4.
The only requirement at this stage is an unencrypted IPA file. This is normally provided by the customer. If not, we can download the IPA file from the AppStore and then use tools like Clutch(https://github.com/KJCracks/Clutch) or bfinject(https://github.com/BishopFox/bfinject) to decrypt it. Alternatively unencrypted versions of the IPA files are also available on https://www.iphonecake.com/. Ensure that you do a checksum check and verify it with the custom before you start testing. Don’t be shocked if you find that the IPA files from the website have been modified to include un-intended code. In our case, lets target the Uber application from the AppStore.
The various steps for setting up Frida to run on non-jailbroken iOS device are:
1) Setting up the Signing Identity
2) Setting up Mobile Provision File
3) Performing the Actual Patching
4) Fixing Codesign issues
5) Performing the required Frida-Fu
I will take you through each of these steps one-by-one.
1. Setting up the Signing Identity
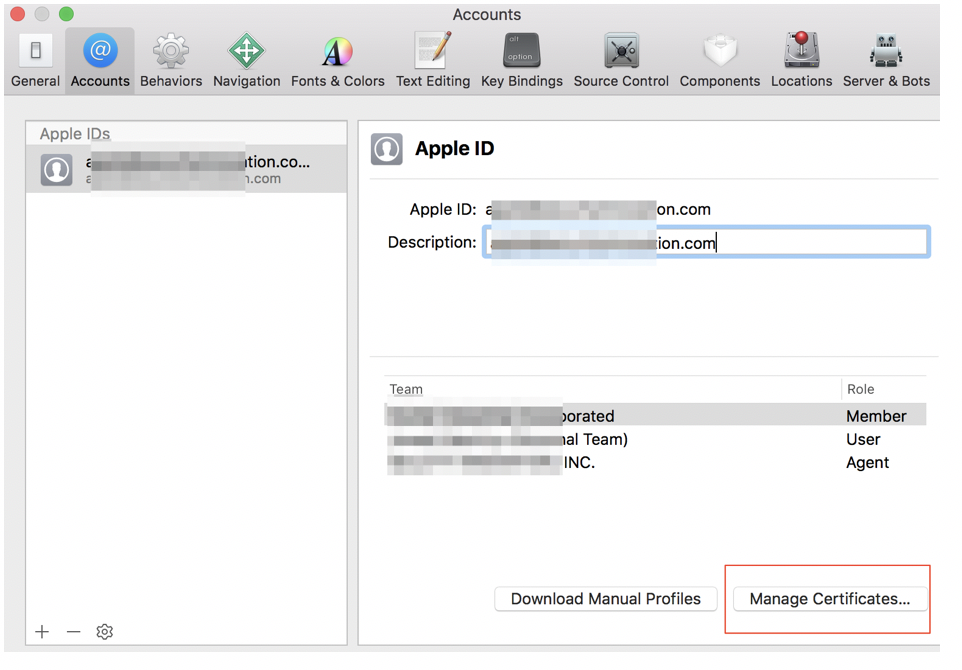
a. Launch Xcode and navigate to the Accounts section using the Preferences menu item. Make sure you are logged in to Xcode using your Apple account.
b. Select “Agent” and Click Manage Certificates.
 c. Click + and select “iOS Development”
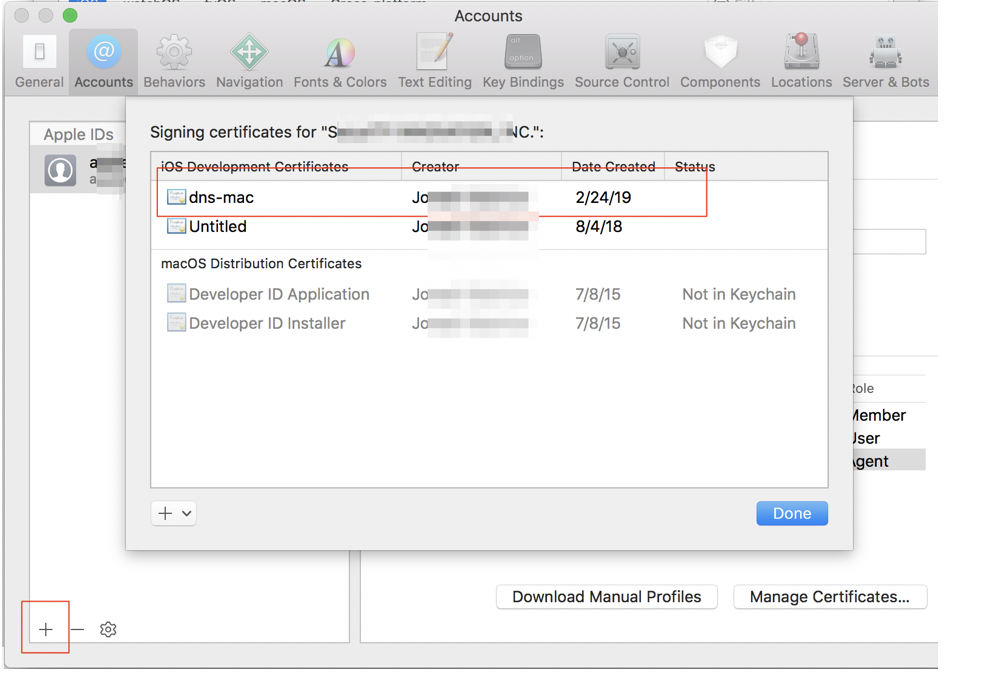
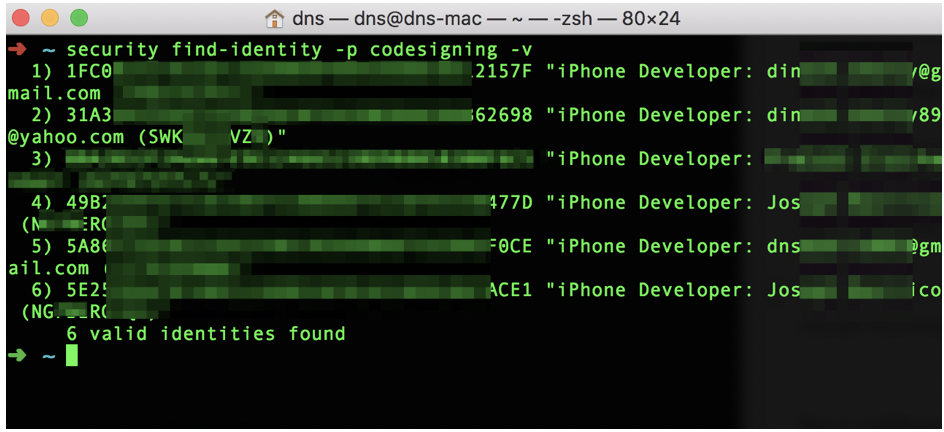
security find-identity -p codesigning -v
This command will output all the signing identities for your account.
2. Setting up Mobile Provision File
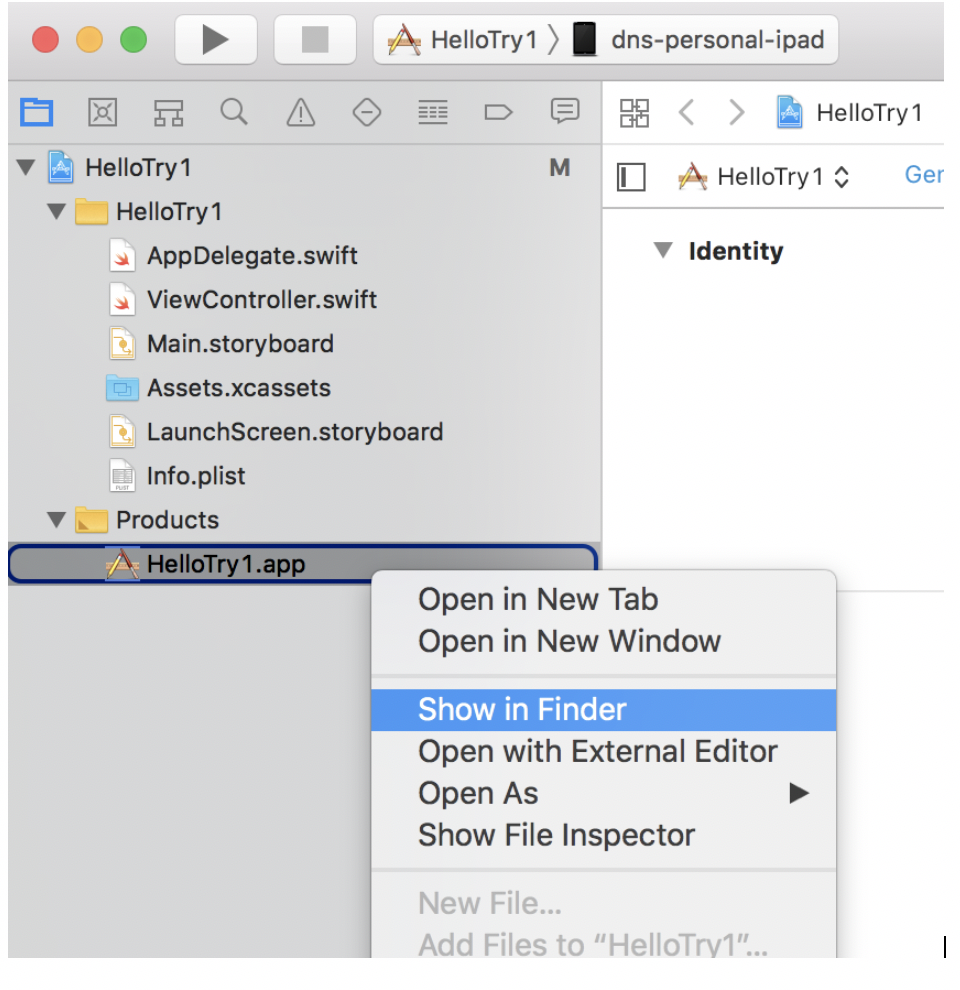
a. Next step will be to create a new Xcode project with team as agent and target as your actual test device and click play. Run the application on the device. You have to do this step for every new device that you want to use for testing.
b. Right click the generated .app file and select “Show in Finder”.
c. Right click the .app file from the Finder and select “Show Contents”.
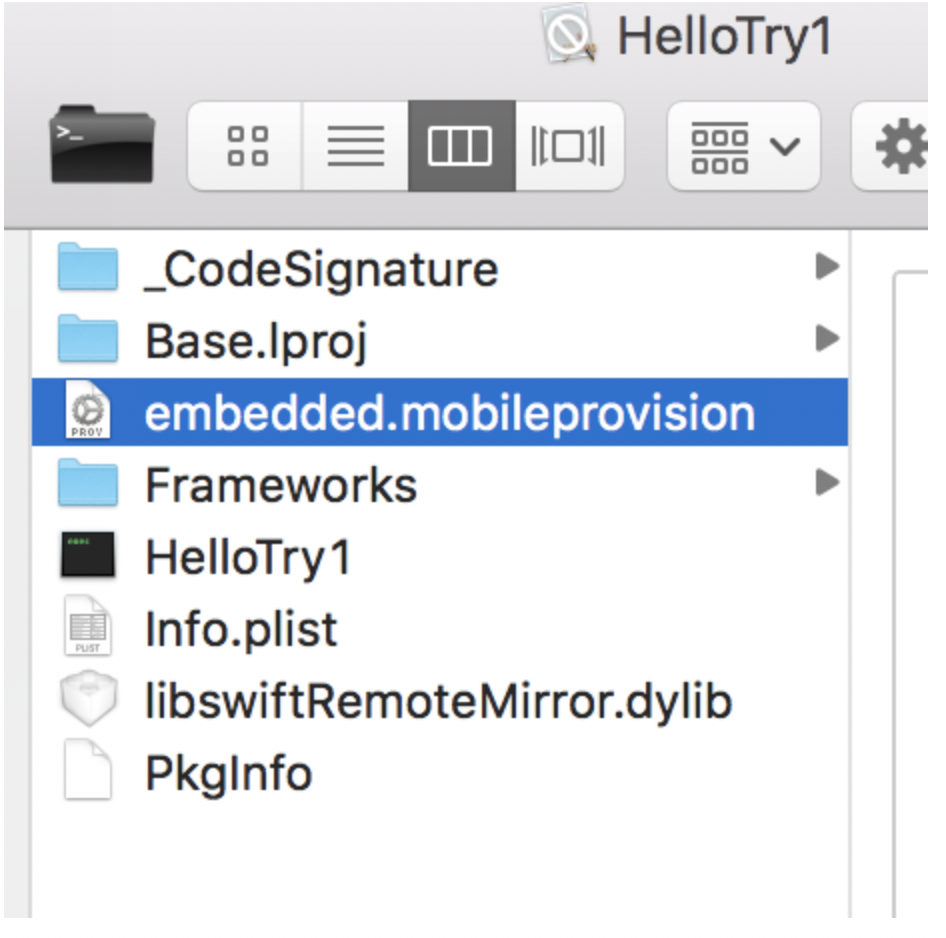 d. Save the embedded.mobileprovision file. You will need this later while signing the IPA file.
3. Performing the Actual Patching
a. Download the latest version of Frida. This can be done using the following command:
curl -O https://build.frida.re/frida/ios/lib/FridaGadget.dylib
b. Unzip the IPA file and copy this Frida library into the folder named “Frameworks". If the folder “Frameworks” does not exist, create it.
unzip Uber.ipa
cp FridaGadget.dylib Payload/Helix.app/Frameworks
c. Now, we will use the tool insert_dylib by Tyilo to inject the Frida dylib into the Uber Mach-O binary executable
Use the following steps to build the insert_dylib tool.
git clone https://github.com/Tyilo/insert_dylib
cd insert_dylib
xcodebuild
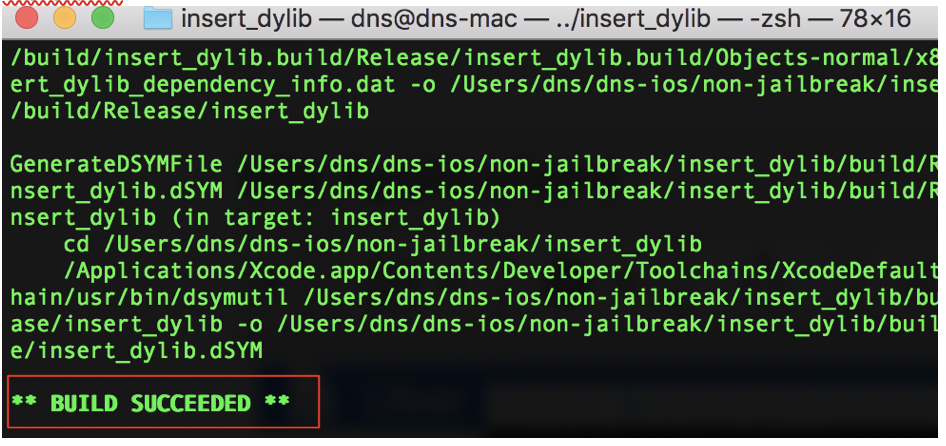
d. The executable can now be found at “build” folder. Copy the generated insert_dylib executable to your system path using the following command:
cp insert_dylib/build/Release/insert_dylib /usr/local/bin/insert_dylib
e. Use the following command to inject the Frida dylib into your Uber Mach-O binary executable
insert_dylib --strip-codesig --inplace '@executable_path/Frameworks/FridaGadget.dylib' Payload/Helix.app/Helix
If we try to install the application now, it will fail because of code sign issues. We need to fix it before we proceed.
4. Fixing Codesign issues
a. Sign the Frida dylib using codesign. This can be done using the following command.
codesign -f -v -s 5E25E<snipped-signing-identity> Payload/Helix.app/Frameworks/FridaGadget.dylib=
b. Zip the Payload folder into an IPA file using the following command:
zip -qry patchedapp.ipa Payload
c. Install `applesign` utility using the following command:
npm install -g applesign
d. Now, sign the patched IPA file that we created previously.
applesign -i 5E25E<snipped-signing-identity> -m embedded.mobileprovision -o patched_codesign.ipa patchedapp.ipa
e. Install ios-deploy and then push the patched_codesign IPA file to the device.
npm install -g ios-deploy
mkdir final_file
cp patched_codesign.ipa final_file
cd final_file
unzip patched_codesign.ipa
ios-deploy --bundle Payload/*.app --debug -W
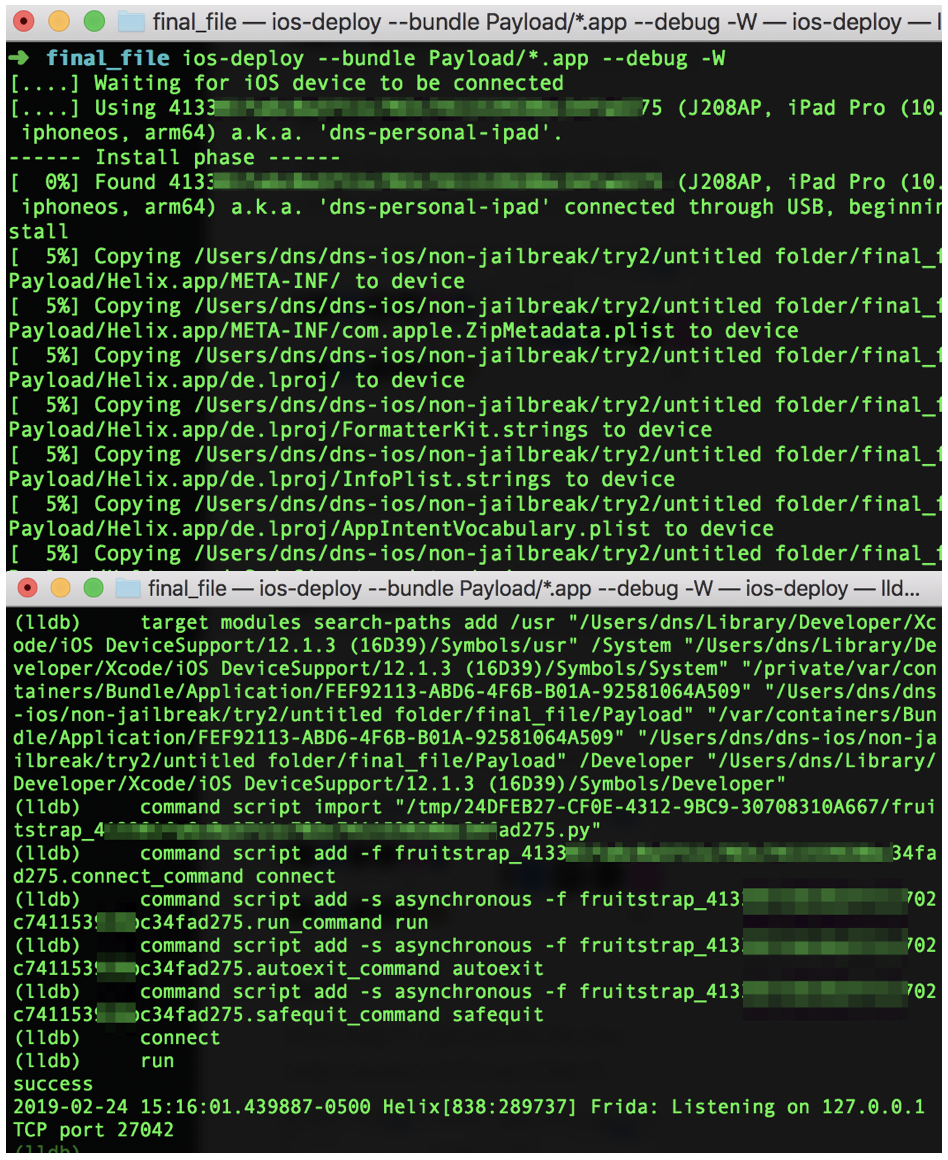
Observe that the console message indicates that Frida is now running on port 27042.
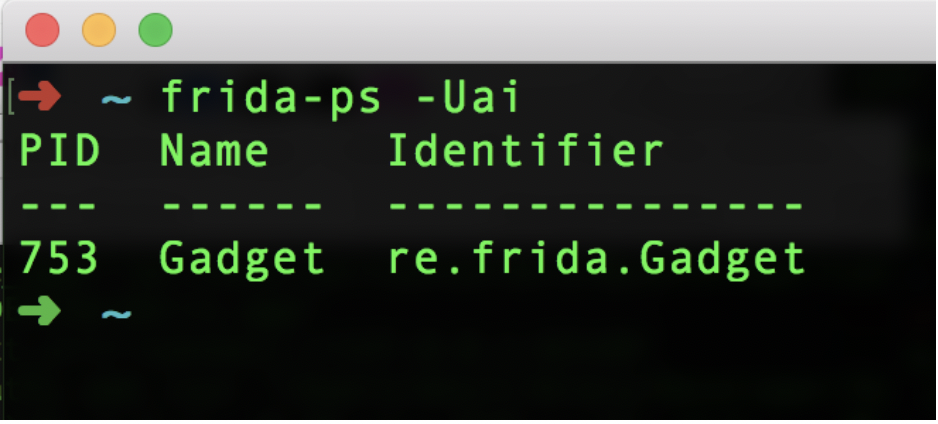
5. Performing the Required Frida-Fu
Your iOS device will appear to be frozen till you enter the Frida commands. To confirm if Frida gadget is actually working make use of the following command:
frida-ps -Uai
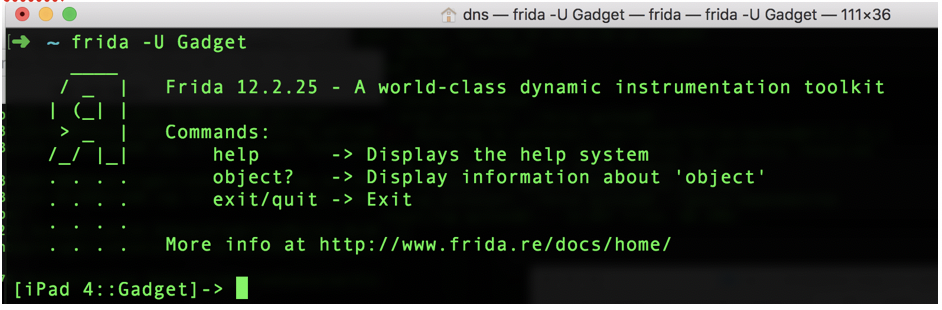
Connect to the Gadget using:
frida -U Gadget
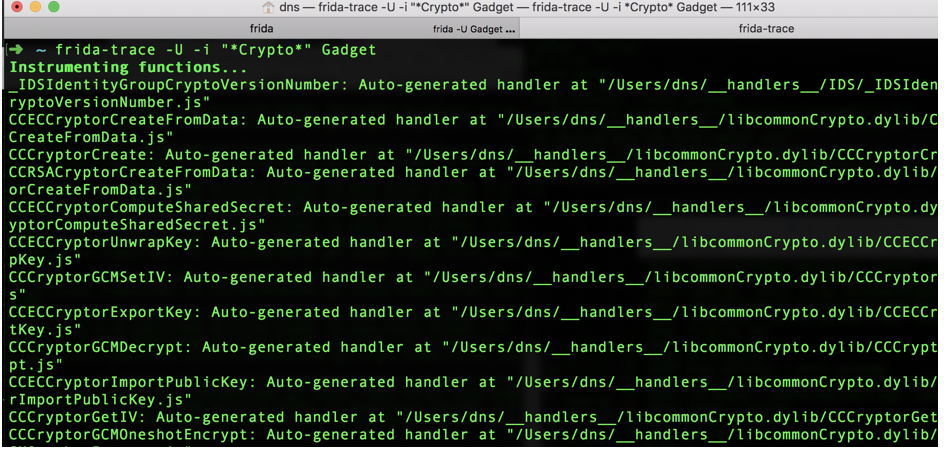
Trace Crypto calls using:
frida-trace -U -i "*Crypto*" Gadget
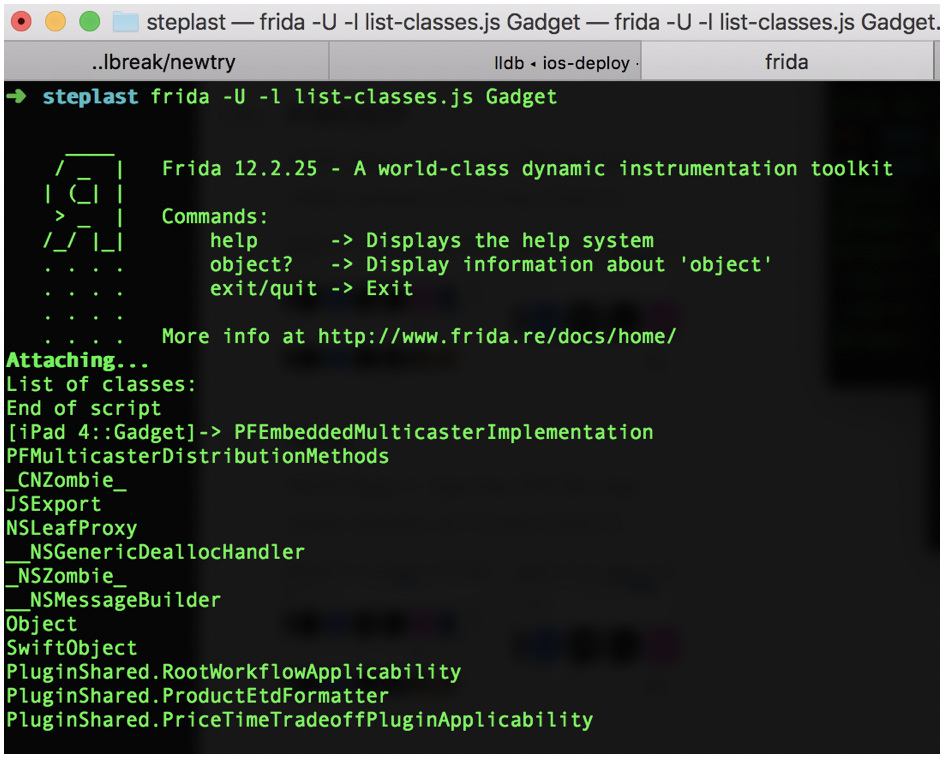
The following shows the sample usage of Frida scripts
frida -U -l list-classes.js Gadget
That is it for now. In my next blog post I will talk about how to use Frida to perform a variety of attacks on Mobile Applications.